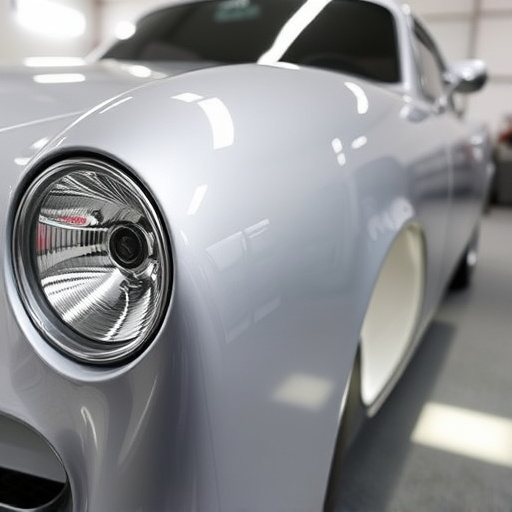

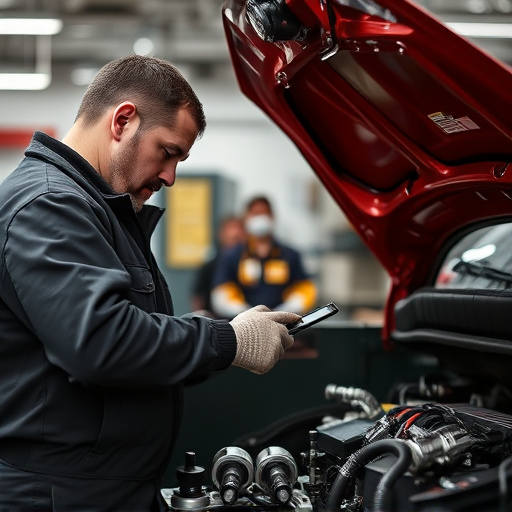

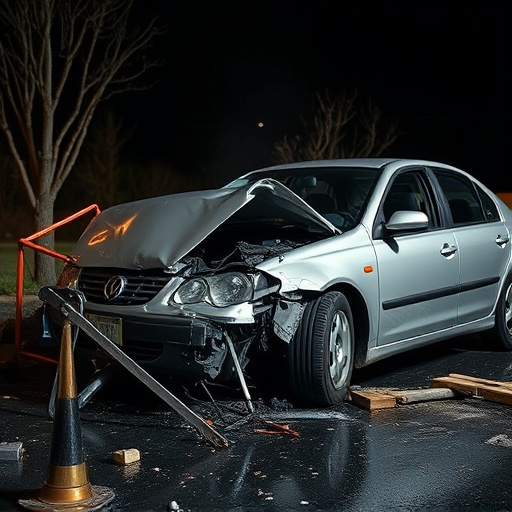
Emblem replacement after a collision demands meticulous preparation: cleaning, sanding, and dust removal. Accurate alignment and secure placement with specified adhesives ensure durability. Post-replacement, applying protective coatings prevents future damage, enhancing aesthetics and durability for harsh conditions.
When replacing vehicle emblems, proper cleaning and protection are essential to maintain the car’s aesthetic appeal. This guide outlines best practices for a flawless restoration process. First, prepare the surface by removing dirt and debris, ensuring a clean canvas for new emblems. Next, learn the art of correctly installing them for long-lasting durability. Finally, discover the benefits of applying protective coatings post-installation to safeguard against scratches and stains, enhancing the emblem’s longevity after an emblem replacement collision.
- Prepare Surface for Emblem Replacement
- Correctly Install New Emblems
- Apply Protective Coatings After Installation
Prepare Surface for Emblem Replacement
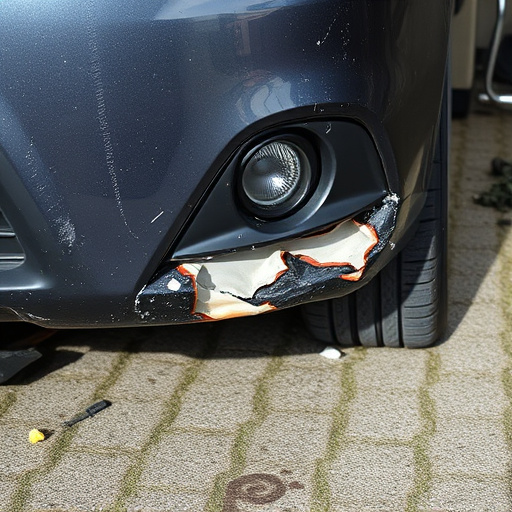
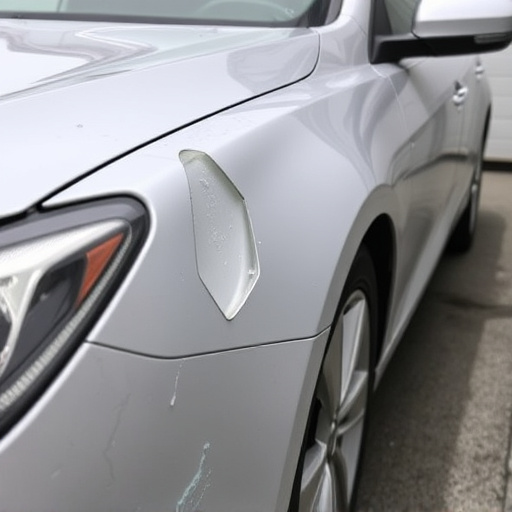
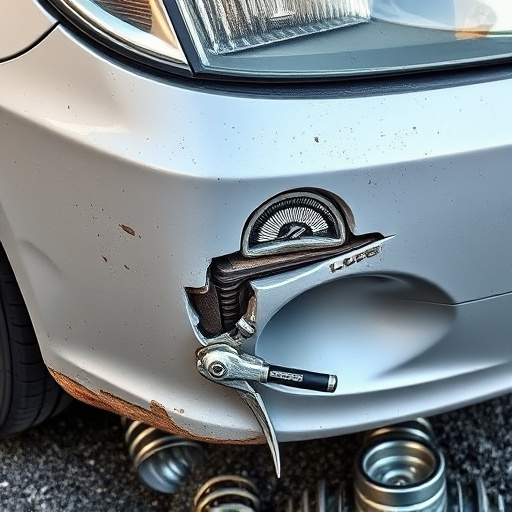
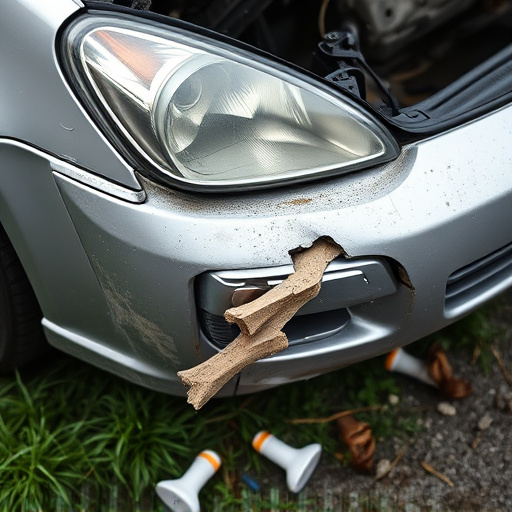
Before replacing a damaged or old emblem, it’s crucial to prepare the surface properly. This involves thoroughly cleaning the area around the collision site, removing any debris, and ensuring there are no remaining traces of the original emblem. A simple wash with a mild detergent and a soft cloth can do the trick for most cases. Once clean, dry the surface completely to prevent water damage or mold growth that could affect the adhesion of the new emblem.
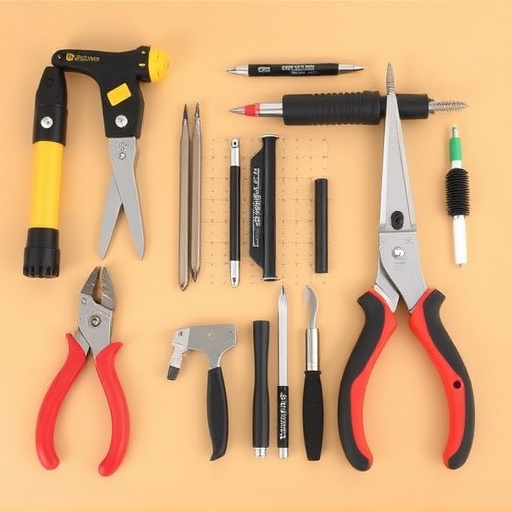
For optimal results, consider sanding the area lightly to create a slightly rougher texture. This process helps in achieving a stronger bond between the new emblem and the car’s surface. After sanding, wipe down the area again to remove any dust particles. With these initial steps, you’re well-prepared for seamless emblem replacement, ensuring a long-lasting and visually appealing finish at an auto repair near you or your trusted automotive body shop. Remember, proper preparation is key to achieving professional bumper repair results.
Correctly Install New Emblems
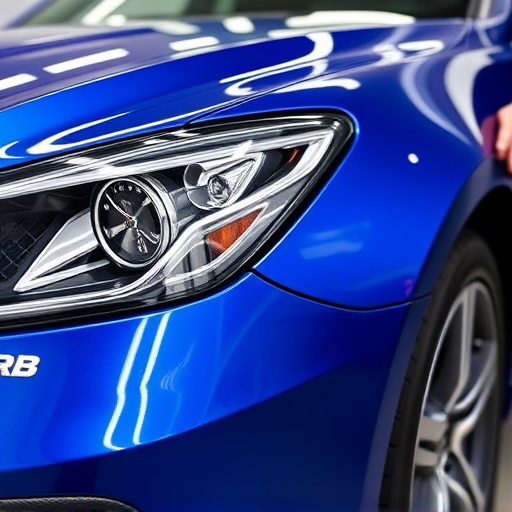
When installing new emblems after a collision or repair, precision is key. The process requires careful attention to detail and adherence to specific guidelines. Begin by preparing the surface thoroughly; this includes cleaning and decontaminating the area to ensure a clean slate for the new emblem. Make sure the surface is free from any debris, grease, or old adhesive remnants.
During the installation, align the emblem accurately with the vehicle’s design lines and reference points. Use marking tools if needed to guide your placement. Once positioned, secure the emblem firmly using appropriate adhesives or fastening methods specified by the manufacturer. This step ensures a durable bond, preventing future detachment issues. Remember, correct installation is vital to maintaining aesthetics and structural integrity, especially in the case of emblem replacement collision repairs, ultimately contributing to the overall quality of auto glass replacement and car body repair services.
Apply Protective Coatings After Installation
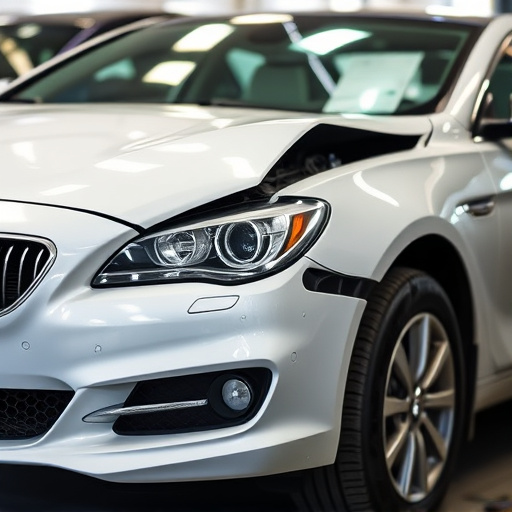
After carefully replacing a damaged or faded emblem, it’s crucial to protect the new appearance with a high-quality protective coating. This step is essential in safeguarding against future damage, especially if the vehicle is prone to exposure to harsh weather conditions or regular contact with potentially abrasive surfaces. Applying a clear coat or a specialized automotive paint designed for emblems ensures longevity and maintains the crispness of the replacement.
Automotive body shops often recommend this as a standard practice in their paintless dent repair and vehicle body repair services. By adding an extra layer of protection, the shop guarantees that the replaced emblem looks as good as new for an extended period. This is particularly beneficial for customers who want to maintain the aesthetics of their vehicles without frequent replacements, ensuring a sleek finish that complements the overall vehicle body.
When replacing vehicle emblems, proper preparation and installation techniques are key to ensuring a long-lasting, visually appealing finish. By carefully preparing the surface, correctly installing new emblems, and applying protective coatings, you can avoid common issues like peeling or fading that often occur after an emblem replacement collision. These best practices will not only protect your vehicle’s aesthetics but also preserve its value over time.