
Emblem replacement collision repairs require auto specialists to restore or replace damaged vehicle emblems with precision. The process involves removing old emblems, studying specifications, sourcing factory-matched alternatives or creating replicas using advanced techniques and tools. Key equipment includes high-quality shears, plasma cutters, adhesives, sanders, polishers, and CAD software for accurate measurements. Accurate replacement involves cleaning, inspecting, preparing new emblems, marking placement, drilling, aligning, securing, applying adhesive, trimming, and achieving a seamless finish that restores vehicle damage to near-new condition.
Emblem replacement collision repairs are a specialized process, crucial for restoring vehicles’ aesthetic appeal and structural integrity. As cars age or sustain damage, replacing emblems becomes an essential part of the restoration journey. This article delves into the intricate world of emblem replacements, guiding you through the process from start to finish. We’ll explore the necessary tools and step-by-step techniques ensuring precise installations. By understanding these methods, folks can navigate the process, fostering a smoother, more informed repair experience.
- Understanding Emblem Replacement Process
- Essential Tools for Collision Repairs
- Step-by-Step Techniques for Accurate Emblem Installation
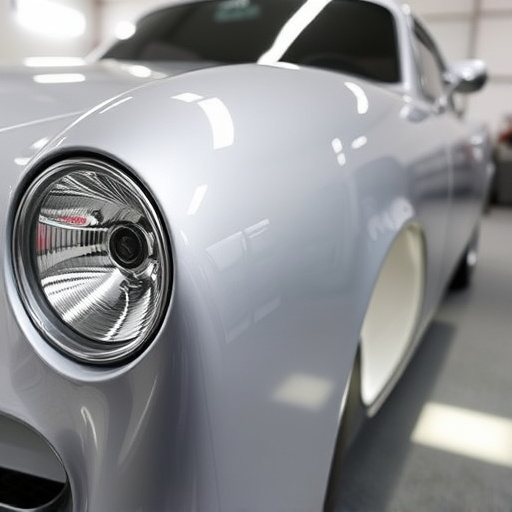
Understanding Emblem Replacement Process

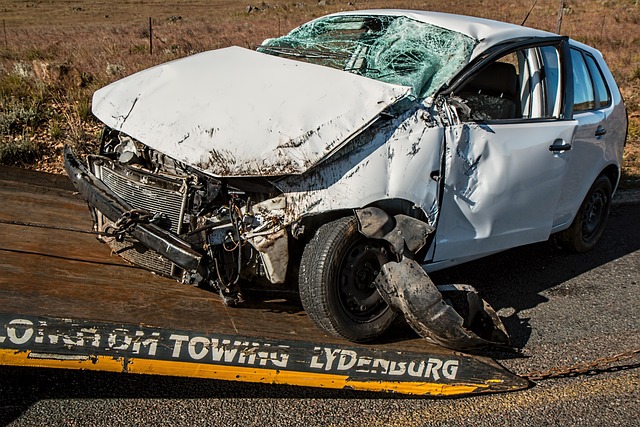
Emblem replacement collision repairs involve a meticulous process where damaged or missing vehicle emblems are expertly restored or replaced. It’s more than simply swapping out a decorative item; it requires precise matching, color coordination, and understanding of the car’s make and model to ensure the new emblem seamlessly integrates with the existing vehicle aesthetics.
Professional auto repair shops specializing in car body shop services offer this specialized work. They begin by removing the old emblem, carefully studying its shape, size, and unique design features. Next, they either find a factory-matched replacement or reproduce an exact replica using advanced techniques like mold-making and car paint services to match the original finish perfectly. Once prepared, the new emblem is carefully installed, ensuring proper alignment and secure attachment for long-lasting durability.
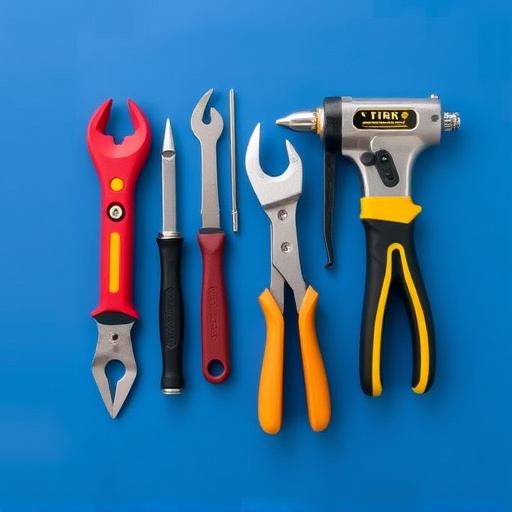
Essential Tools for Collision Repairs

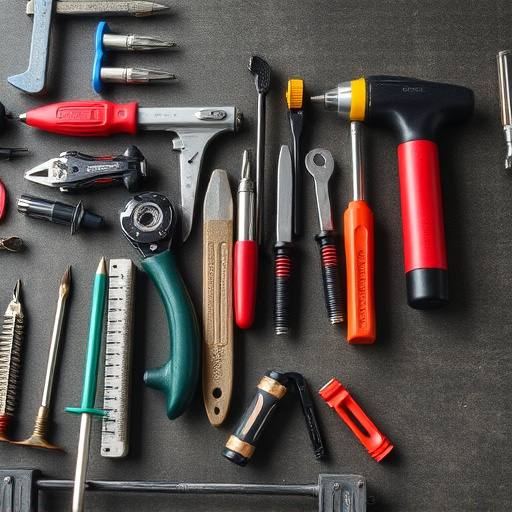
When it comes to emblem replacement collision repairs, the right tools are paramount. A well-equipped collision repair shop ensures efficient and accurate work, minimizing the time and cost involved. Essential tools for this specialized task include precision cutting tools, such as high-quality shears and plasma cutters, which allow technicians to remove damaged components without affecting surrounding areas.
Additionally, a comprehensive set of adhesives and sealants is crucial, as these materials ensure a strong bond when reattaching emblems. The use of advanced sanders and polishers also plays a vital role in smoothing surfaces and achieving a seamless finish. Many collision centers rely on computer-aided design (CAD) software to accurately measure and cut parts, making emblem replacement processes more precise and consistent.
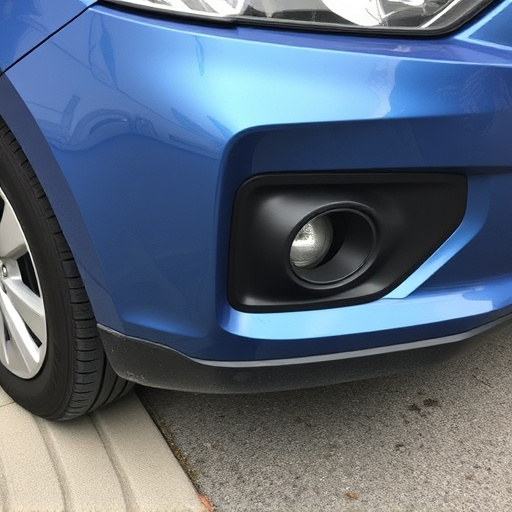
Step-by-Step Techniques for Accurate Emblem Installation

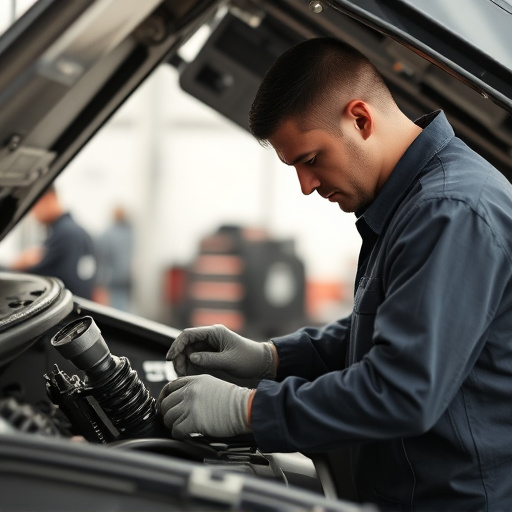
Accurately installing a replacement emblem involves a meticulous step-by-step process, crucial for achieving a seamless and professional finish in vehicle body shop settings. It begins with thoroughly cleaning the area where the old emblem was located to ensure proper adhesion of the new one. This includes removing any debris, dust or remnants of the previous emblem using specialized solvents and microfiber cloths.
Next, the new emblem is carefully inspected for defects or damage, ensuring it’s in perfect condition before application. After marking the exact placement on the vehicle body, a small hole is drilled at the center point to accommodate the attachment hardware. The replacement emblem is then aligned precisely with the marked spot using alignment guides and secured temporarily. A thin layer of adhesive suitable for automotive applications is applied to the back of the emblem, followed by pressing it firmly into place. Once set, any excess adhesive is carefully trimmed away, leaving a clean, crisp finish that enhances the overall aesthetics of car damage repair, making the vehicle restoration look as good as new.
Emblem replacement collision repairs require a combination of specialized tools and precise techniques. By understanding the process, having the right equipment, and following step-by-step guides, technicians can ensure accurate installations that restore vehicles to their original condition. These methods not only enhance aesthetics but also contribute to the overall safety and value of the vehicle, making them essential in the automotive industry’s quest for quality repairs.